• Skip to primary navigation
  • Skip to main content
  • PRICE LISTS
    • PRICE LIST: NAILS
    • PRICE LIST: MAKE-UP
  • CONTACT
  • SHOP
  • TESTIMONIALS
  • FAQ
    • Nails FAQ
    • Make-up FAQ
  • T&Cs
    • Refund and Returns Policy
    • Terms & Conditions
  •  
  • Nav Social Menu

    • Facebook
    • Instagram
    • Pinterest

Rambling Rose

  • Price Lists
    • Nails
    • Make-up
  • Shop
  • Blog
    • Articles
    • How to … & Tutorials
    • Make-up brushes & tools
    • Nails
    • Product Reviews
  • Contact
  • T&Cs
    • Refund and Returns Policy
    • Terms & Conditions
  • Press

Colour Corrector vs Concealer

June 22, 2021 | Articles, How to ... & Tutorials | Leave a Comment

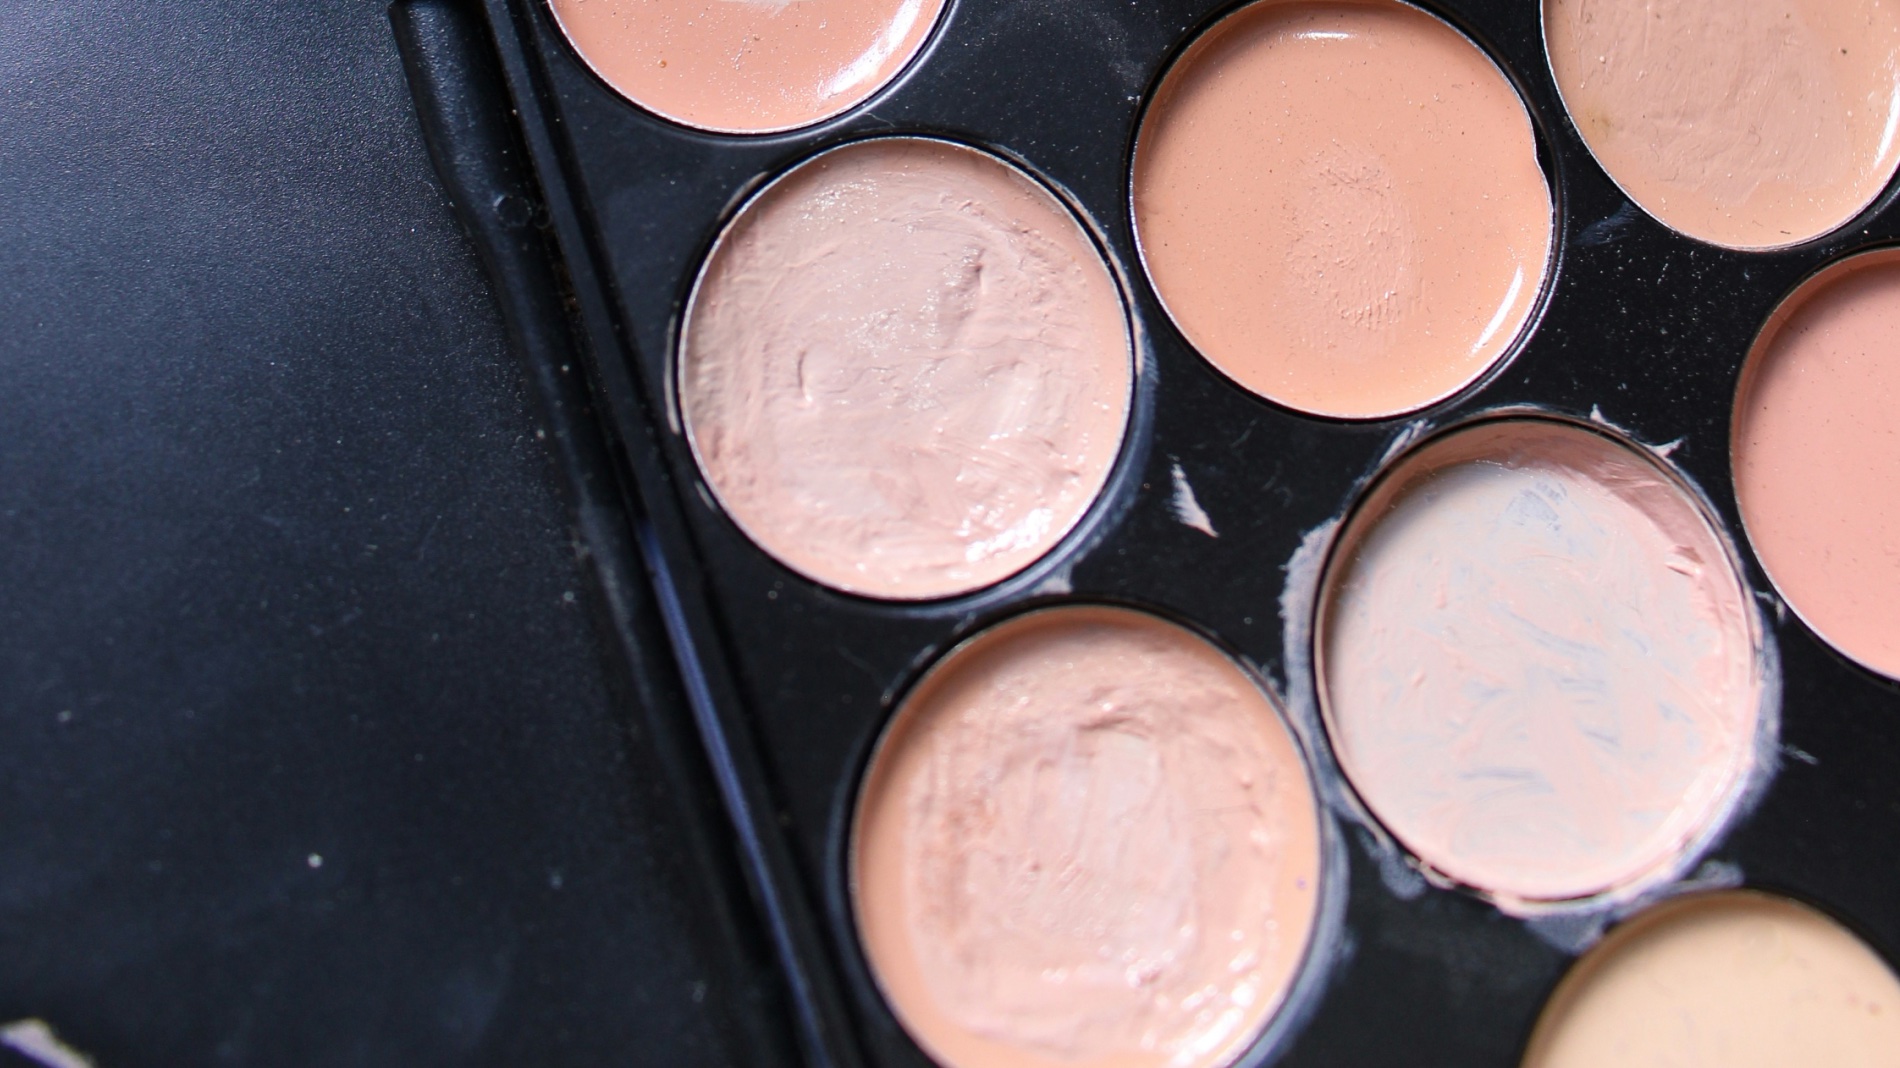
I’ve noticed that lately some cosmetic companies have begun referring to the Colour Correctors in their product ranges as “Concealers”. Technically, this is correct, as colour correctors do conceal in a way.  They are coloured cream concealers that disguise and neutralise any colour-based imperfections on your skin, like dark under eye circles, redness, pigmentation marks, etc., while traditional flesh-toned concealers are used to hide imperfections, blemishes and pimples.

Colour Corrector vs Concealer:  What should be used when?

Colour correctors come in four different shades: orange, green, lilac and yellow (or cream). The most commonly used of these four are orange and green. When it comes to using colour correctors and knowing what to use when, it is easiest to keep in mind a colour wheel, think back to basic art classes, and picture the complimentary colours. These are the colours that lie opposite each other on the wheel, for example: red and green, blue and orange, purple and yellow. This will help you to remember which colour corrector is needed to cover which colour imperfection.
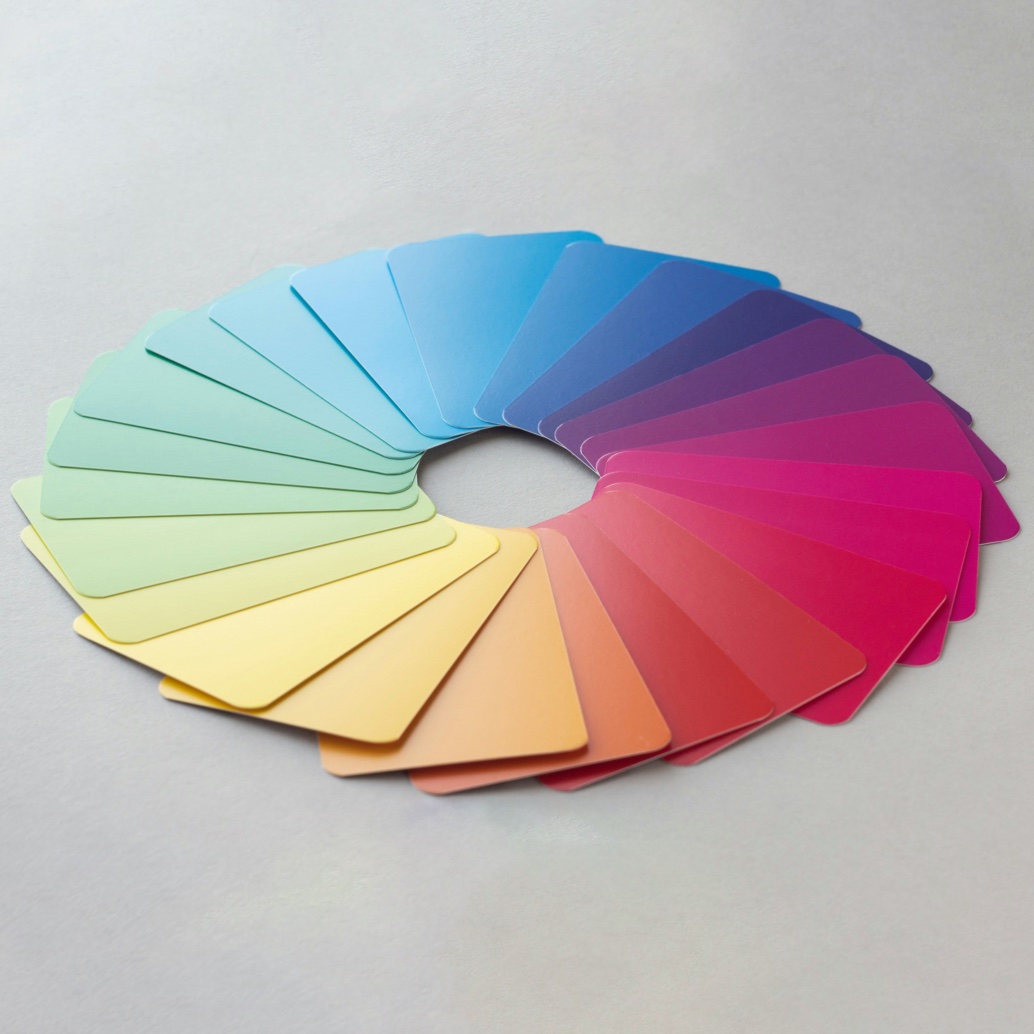
Free Stock Image: unsplash.com

Green colour corrector (or green concealer) is used to neutralise any redness on the skin caused by acne, broken capillaries, rosacea, etc.  Orange is used to disguise any blue or grey tones, i.e. under eye circles, blueish coloured bruises, prominent blue veins, etc.  Lilac is used to brighten sallow skin and helps counteract yellow undertones and can be used to disguise old (yellow) bruises.  Yellow (or cream) can be used to disguise purplish or brown pigmentation marks or used as a highlighter on the cheekbones.

Colour correctors are needed when a regular, flesh-toned concealer doesn’t fully disguise a problem area. A colour corrector would be applied first, after moisturiser and primer, but before concealer and foundation. Using your ring finger or a concealer brush, gently pat the corrective colour over the blemish or area that you wish to neutralise. Blend the edges gently into your skin so that there is no visible end to the colour. If necessary, a flesh-toned concealer can gently be applied on top of this before you apply your foundation.  Alternatively, you can apply your foundation directly over the colour corrector and then use a flesh-toned concealer for further coverage, if necessary.

The order that concealer and foundation is applied in is completely up to you, but remember that concealer should be one shade lighter than foundation in order to correctly disguise any blemishes.

Use light brush strokes or a light touch to apply concealer and foundation over areas that have already been covered, as you don’t want to shift or wipe off any of the colour corrector or concealer.  Once colour corrector, concealer and foundation have all been applied, set them with a light dusting of powder on a large, fluffy powder brush.  Too much powder on top of these products can result in your concealer looking cakey and can leave it prone to creasing, especially under the eyes.

For further information on how to apply concealer correctly, please read my previous post “How to apply Concealer”.

Instead of using two separate products (colour corrector and concealer), you could always try using a CC Cream under your foundation. To read more see “What is a CC Cream?“


Share this:

  • Share on Facebook (Opens in new window) Facebook
  • Share on X (Opens in new window) X
  • Share on Pinterest (Opens in new window) Pinterest
  • Print (Opens in new window) Print

Reader Interactions

Leave a Reply Cancel reply

You must be logged in to post a comment.

ramblingrosenails

💅 By appointment only.
🚫 No under 16s.
Closed on Wednesday & Sunday.
Book online:

Get your skin ready for summer with 25% off all Re Get your skin ready for summer with 25% off all Reniu products by Pure Fiji (including gift boxes and gift baskets).

25% off everything else storewide: 
- all skincare and nail products 
- Jewellery
- Home Decor
- Hair and Bridal accessories

Halloween weekend only (30 & 31 October 2026).

 #savethedate #25offsale #halloweensale
Get your pre-Halloween appointments booked in now! Get your pre-Halloween appointments booked in now! ... And while you're at it, book your pre-Christmas appointments, too.  Spots are filling up fast.

Gel polish manicure with one feature nail per hand = $74

👩‍💻 Book online.
🎁 Gift vouchers available online - use above link.
📍  Mangawhai Heads
📖  By appointment only
🚸  No children under 16 allowed in the salon.
🧴  Strict hygiene routine
🎓  Fully qualified nail tech with 10+ years experience 
🌹  Tranquil location 

 #pumpkinnails #halloweennails #Halloween2026 #halloween2026
Great quality, soft eyeliner and lip liner pencils Great quality, soft eyeliner and lip liner pencils available while stocks last.

Eyeliners $6.95
Lip Liners $7.99

 #eyelinerpencils #liplinerpencils #makeupforsale
Will you be decorating your nails for Halloween? Will you be decorating your nails for Halloween?

Gel polish mani with nail art = $90

👩‍💻 Book online.
🎁 Gift vouchers available online.
📍  Mangawhai Heads
📖  By appointment only
🚸  No children under 16 allowed in the salon.
🧴  Strict hygiene routine
🎓  Fully qualified nail tech with 10+ years experience 
🌹  Tranquil location 

 #HauntedHouseNails #hauntedhousenails #halloweennails #halloweennailart #Halloween2026 #halloween2026
Got thin or uneven lips? Make them look bigger b Got thin or uneven lips? 

Make them look bigger by taking a pencil lip liner in a shade the same colour as the lipstick you intend on wearing (or use a nude shade) and using light, feathery strokes or very tiny circular motions, almost buff the lip liner onto the edge of your thin or uneven lip, right where the natural lip colour and skin colour meet. Ideally, you want to extend the natural lip line colour by about millimetre or two (the width of a sharp lip liner pencil). Keep adding more width until the lip looks fuller but still natural. Rather start small and build the line up slowly instead of having to wipe the liner off and start again each time.

Once you’ve lined both lips, fill them in with the lip liner to create a base for your lipstick. Take a clean, dry lip brush or a cotton bud and soften and blend the lip liner onto your lips so that there are no harsh lines but rather a smooth application of colour.

Apply your lipstick to both lips, preferably with a lipstick brush and blot with a tissue. Apply a second coat of lipstick. 

 #thinlips #unevenlips #lipsticktips
Halloween nails don't have to be witches, cobwebs Halloween nails don't have to be witches, cobwebs or ghosts ... They can be simple polka dots.

Gel polish mani with two feature nails per hand = $78

By appointment only. Book online.

 #halloweennails #polkadots #polkadotnails
Need some 'me time'? Book an appointment online. Need some 'me time'? 

Book an appointment online.

 #nailsbyappointment #mangawhainailtech #mangawhainailsalon #ramblingrosenails
'Howl, Baby, Howl' is a beautiful cinnamon colour 'Howl, Baby, Howl' is a beautiful cinnamon colour brown - perfect if you're wanting a change from nude.

 #cinnamonnails #brownnails #howlbabyhowl
If you've chosen Rambling Rose for a mani or pedi If you've chosen Rambling Rose for a mani or pedi in the past few months, thank you! I feel honoured that you've chosen me to look after your natural nail health. Without you, my small business wouldn't be here - your patronage is much appreciated. 

Don't forget to start booking your November and December appointments ... Spots are starting to fill up. 

 #loyalclients #thankyou #nailsbyappointment
Gloss vs Matte Something as simple as changing th Gloss vs Matte

Something as simple as changing the final top coat from gloss to matte can completely change the look of your usual nail polish colour.  See these pics for a comparison.

Which one do you prefer? 

 #GlossVsMatte #glossvsmatte #MattevsShine #mattevsshine
Follow on Instagram

Copyright © 2026 · Rambling Rose