• Skip to primary navigation
  • Skip to main content
  • PRICE LISTS
    • PRICE LIST: NAILS
    • PRICE LIST: MAKE-UP
  • CONTACT
  • SHOP
  • TESTIMONIALS
  • FAQ
    • Nails FAQ
    • Make-up FAQ
  • T&Cs
    • Refund and Returns Policy
    • Terms & Conditions
  • Nav Social Menu

    • Facebook
    • Instagram
    • Pinterest
  •  

Rambling Rose

  • Price Lists
    • Nails
    • Make-up
  • Shop
  • Blog
    • Articles
    • How to … & Tutorials
    • Make-up brushes & tools
    • Nails
    • Product Reviews
  • Contact
  • T&Cs
    • Refund and Returns Policy
    • Terms & Conditions
  • Press

How to wear make-up with glasses

April 25, 2016 | Articles, How to ... & Tutorials | Leave a Comment

I don’t wear glasses (or contact lenses) on a daily basis, but do have glasses that I have to use when working on the computer or doing really fine, detailed work.

Wearing glasses can affect the way that your make-up looks as the size of the frames can attract attention. The more glass you have the more make-up can be seen and glasses can make your eyes look bigger or smaller depending on the type of lens you have and how strong they are.

There are two categories for people who wear glasses; those who are farsighted and those who are nearsighted. With farsightedness, the lens can make the eye look bigger, particularly if the lenses are strong. Lenses for nearsightedness can have the opposite effect, especially if they are very strong; they can leave your eyes looking smaller and even narrow the sides of your face too.

You might think that glasses will hide your under eye circles, but the lenses may magnify the circles and the frames can cast shadows onto your face. Try to lighten up the eye area by applying concealer under your eyes to prevent them from looking sunken in. You can also use a lighter coloured foundation or a highlighter.

To prevent those annoying red marks on the bridge of your nose, use a tinted moisturiser, BB cream or CC cream and keep the application as light as possible, using thin layers. After applying your make-up, blot away any excess foundation where your frames touch your face, like on the bridge of your nose and where they rest on the tops of your cheeks. To do this, use a cosmetic wedge or a Beauty Blender, dampen it slightly and roll it in a pressing motion over the bridge of your nose and tops of your cheeks. It won’t remove what you’ve just put on; it’ll just leave you with a non-cakey, airbrushed look. Use a large, fluffy powder brush to dust on some setting powder to keep your glasses from sticking to your foundation.

When it comes to eyebrows, many have conflicting opinions. Some feel that strong brows can create a power-struggle between your eyebrows and your frames, while others feel that natural brows are best. To prevent your frames competing with your brows, avoid overfilling or darkening your brows too much, especially if your frames are thick set. A good pair of frames usually follows the line of your brows, which will draw attention to them. I feel that having well groomed brows is a must. A clear or lightly coloured brow mascara or brow gel can be used to darken them slightly but only ever go a shade or two darker than your natural brow colour to avoid them being too dark and overpowering.

Free Stock Image: unsplash.com

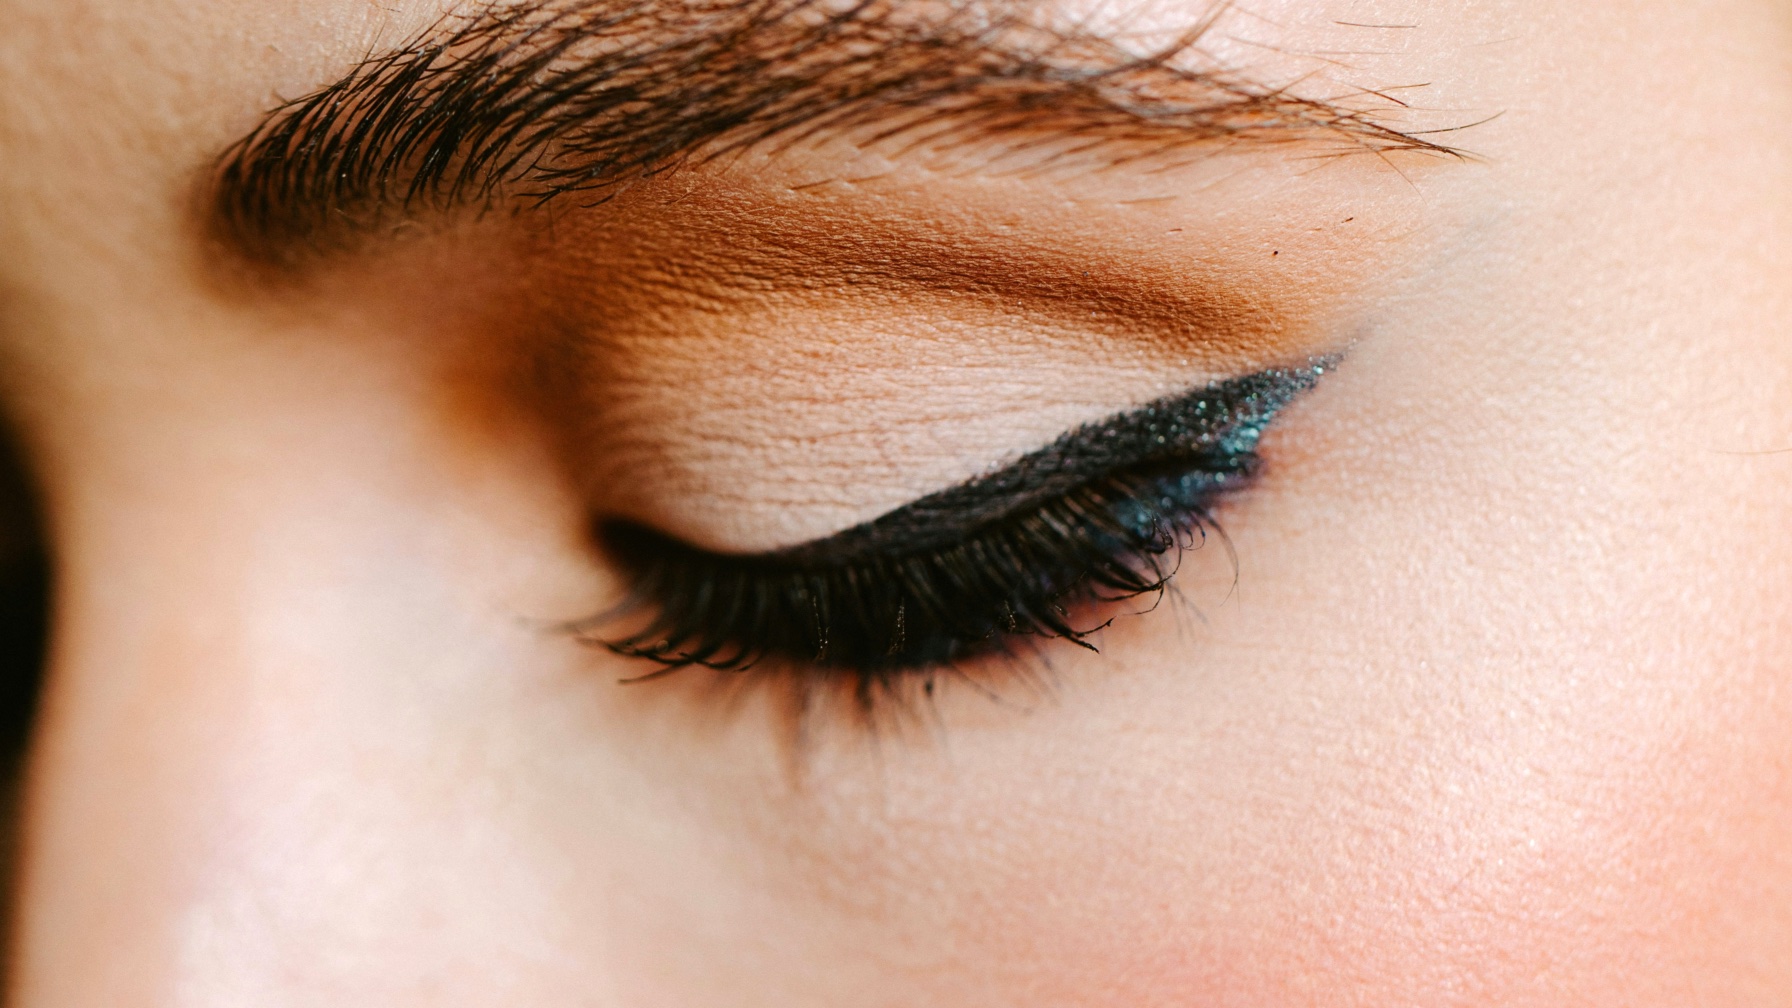
Black eyeliner on your eyes can be a little to heavy (unless you have black frames), so try switching your usual black eyeliner for a dark brown, deep navy, dark burgundy or charcoal grey. Gel liners are my favourite, especially in pencil form, as it’s really easy to apply and stays on all day.

Did you know that the thickness of your eyeliner should mimic the thickness of your frames? If you have thicker frames you can get away with thicker, winged lines. If you’ve got thin frames (or frameless glasses) opt for thin, tight lines that hug your lashes.

Eye shadow is all about personal preference, although eye make-up can start to look heavy if it’s too bold, especially if your frames are thicker. Try applying most of the eye shadow on your lid area and blend it out well into the crease, keeping the brow bone area neutral so that it doesn’t look overwhelming through your lenses. Shimmer eye shadows are universally flattering and won’t look too heavy on the eyes. With glasses magnifying your eyes a little, a bit of shimmer shadow on your lower lid (under your bottom lashes) can really accentuate your eyes. Play around with your make-up and don’t be scared to experiment with different looks until you find what suits your eyes and frames best.

If you choose to go with bold shades or a Smokey look on your eyes, try keeping your lips neutral. If you’re going with neutral colours on your eyes, have fun with bold, funky colours on your lips. Balance is key and bold frames look great with a bold lip and classic eye make-up.

I find nothing more irritating that having my eyelashes batting against the lenses of my glasses! To prevent this, apply most of your mascara to the base of your lashes by wiggling the wand back and forward in a zigzag motion at the lash line, sweeping the mascara lightly towards the tips once or twice. Your lashes will be magnified anyway, so you need most of the intensity near the root and less at the tip. If your lashes still touch the lenses, gently “pinch” the tips of your lashes between your thumb and forefinger after applying your mascara to remove it from the very tips.

If your mascara flakes during the day, it could be due to one of two reasons. How old is your mascara? It could be past its prime and drying out. Mascara needs to be replaced very three months, sooner if it’s not a creamy formula and isn’t wet enough. Ideally, you need moist mascara that won’t smudge onto your lenses, so waterproof or water-resistant is the way to go.

Finally, don’t forget your blush! A hint of colour on your cheeks is a great way to add a healthy-looking glow and round off your make-up look.

Share this:

  • Click to share on Facebook (Opens in new window) Facebook
  • Click to share on X (Opens in new window) X
  • Click to share on Pinterest (Opens in new window) Pinterest
  • Click to print (Opens in new window) Print

Reader Interactions

Leave a Reply Cancel reply

You must be logged in to post a comment.

ramblingrosenails

💅 By appointment only.
🚫 No under 16s.
Closed on Wednesday & Sunday.
Book online:

All the products available in salon are listed onl All the products available in salon are listed online, including the Reniu range by Pure Fiji.

Order online and have it delivered, or arrange a collection time. 

Prefer to shop in-person? Feel free to browse after your appointment has finished, or book a 15 minute shopping time using the online booking system:  https://www.fresha.com/a/rambling-rose-nails-and-make-up-mangawhai-thelma-road-north-i1d1r1d4/booking?menu=true&dppub=true&employeeId=450913&pId=142955

 #shoponline #reniubypurefiji #HandcraftedItems
French Ombré doesn't have to be pink and white - I French Ombré doesn't have to be pink and white - I can do them in any colour.

 #frenchombre #frenchombrenails #frenchombremani #bluefrenchombre #greenfrenchombre #pinkfrenchombré
If you’re looking for one product that’s affordabl If you’re looking for one product that’s affordable, gentle, natural and yet a very effective way of removing all your make-up – eyes, face and even waterproof mascara – then you need to try the oil cleansing method.

Oil cleansing is suitable for all skin types, but the ratio of castor oil to vegetable oil will vary depending on your skin type. Using the wrong ratio will result in drying your skin out.  Read the full article:  https://www.ramblingrose.co.nz/the-oil-cleansing-method/ 

#oilcleansingmethod #oilcleansing #castoroilcleansing
Seen something you like on social media? Bring th Seen something you like on social media? 
Bring the pic in to your appointment and I'll do something similar for you.

Don't forget to add the additional nail art option if you're wanting nail art - I'll need the extra time added to your mani appointment.

 #ombrenailart #nailart #nailartwithpigments
Every pedicure, whether it's a classic pedi, gel p Every pedicure, whether it's a classic pedi, gel polish or traditional polish, includes a foot treatment and massage.

 #pedicure #pedicurewithmassage #collagenfoottreatment
Like to plan your manicure in advance? Gel polis Like to plan your manicure in advance? 

Gel polish colours, pigments, nail art foils, decals and stamping designs can all be viewed online - they're in separate album folders on Facebook:  https://www.facebook.com/ramblingrosenails/photos_albums

 #bluenails #dandelionnails #shimmerypigment
When clients book at Rambling Rose, they're sent a When clients book at Rambling Rose, they're sent an email confirmation of their appointment (so make sure you provide a valid email address that you actually use). An email reminder is automatically sent 24 hours before the appointment, and an automated text reminder one hour before the appointment starts. 

Simply not showing up for an appointment is just rude. 

A quick text to let me know you're running late or cannot make it will suffice - I often have people on a waitlist, able to fill an appointment at short notice.

 #becourteous #bereponsible #dotherightthing #whyicharge
If you're a fan of glitter, I've added three more If you're a fan of glitter, I've added three more glitter polishes to the collection. These can be applied on top of any other colour, or worn on their own.

This is 'Greed,' a green glitter, over the top of 'Rogue Vogue' a pastel green. 
(Please excuse the regrowth - in the crazy back-to-work rush I forgot to take a pic when they were freshly done).

 #greennails #greenglitter #artisticcolourglossgreed #artisticcolourglossroguevogue
Did you know that nail techs in New Zealand are no Did you know that nail techs in New Zealand are not legally allowed to cut live skin.
 
Removing live skin or cutting the eponychium (often mistaken for the cuticle - the thickened skin around the base of the nail where it joins the finger) is classed as minor surgery and can expose clients to increased risk of infection. 

I've often had clients ask why it doesn't hurt when I remove dry skin around their nails, and yet when they've had it done elsewhere it's been sore. The difference is I'm only removing dry, dead skin cells. I'm not removing any living tissue or skin still needed by your nails or fingers. 

A qualified nail tech should know the difference. 

 #qualifiedvsunqualified #minorsurgery #cuttingskin
Nail art doesn't have to be brightly coloured, it Nail art doesn't have to be brightly coloured, it can be simple and understated but still eye-catching.

Blue and white orchids on the left hand, blue and white lilies on the right hand. 

 #orchidsandlilies #orchidnailart #lilynailart  #blueandwhitenails
Follow on Instagram

Copyright © 2026 · Rambling Rose