• Skip to primary navigation
  • Skip to main content
  • PRICE LISTS
    • PRICE LIST: NAILS
    • PRICE LIST: MAKE-UP
  • CONTACT
  • SHOP
  • TESTIMONIALS
  • FAQ
    • Nails FAQ
    • Make-up FAQ
  • T&Cs
    • Refund and Returns Policy
    • Terms & Conditions
  •  
  • Nav Social Menu

    • Facebook
    • Instagram
    • Pinterest

Rambling Rose

  • Price Lists
    • Nails
    • Make-up
  • Shop
  • Blog
    • Articles
    • How to … & Tutorials
    • Make-up brushes & tools
    • Nails
    • Product Reviews
  • Contact
  • T&Cs
    • Refund and Returns Policy
    • Terms & Conditions
  • Press

How to file your nails correctly

September 16, 2016 | Articles, How to ... & Tutorials, Nails | Leave a Comment

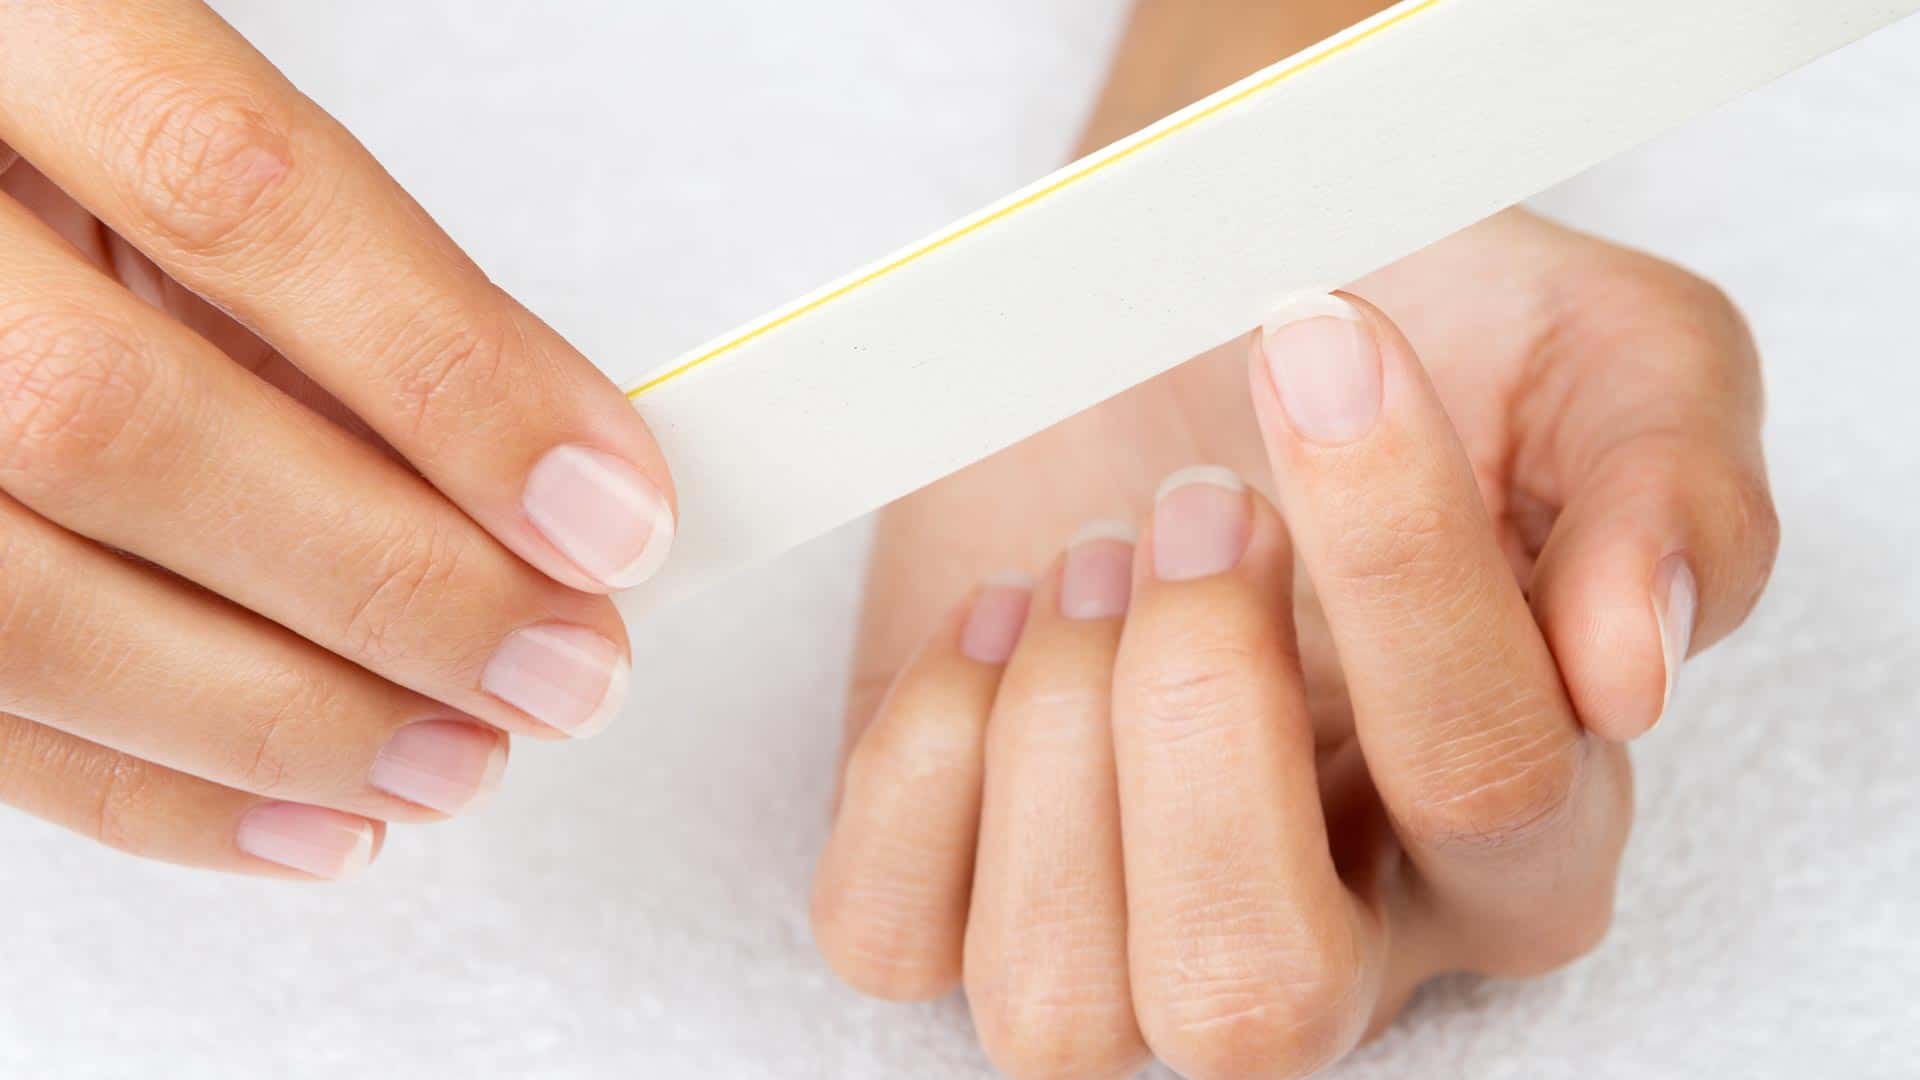
If you file your nails correctly, they will be less prone to splitting, snagging and peeling. Are you using the correct kind of nail file? How should you be filing your nails? See-saw motion, one direction only or from side to the middle on either side of the nail?

Firstly, you will need the right tool in order to file your nails correctly. At some point in our lives, we’ve all used one of those cheap, horrible, rough emery boards that feel like really coarse sandpaper. Yes, they may be cheap and they may come in cute patterns, funky colours and bulk packs but they will ruin your nails! They are far too coarse and harsh for filing down the natural nail.

When looking for a nail file, you need to choose one according to grit (roughness). Files between 180-240 grit are best and the higher the number, the better. If you have healthy natural nails, a 240 grit file is perfect to use. Files with a higher grit will have a finer texture and will be less likely to rip or split your nails. It will also file off less with each motion, meaning that you won’t accidentally file off more than you want to.

Glass nail file

For “at home” use, there are many types of nail files to choose from:
* Glass Files: These are sometimes called crystal nail files.  They are very effective but can be difficult to find. If you want a glass file, look at online retailers or local beauty supply stores, or purchase one from my online store.
* Emery boards or Nail Files: These are usually wooden or have a flexible plastic core with the relevant grit attached to either side (see grit list below).
* Avoid using metal nail files. These can tear your nails and cause splitting and delamination (peeling).

80 grit is very coarse and should never be used on natural nails.
100 grit is still very coarse but can safely be used on artificial nails or acrylic extensions only, never on natural nails.
180 grit is the lowest grit number that should be used on natural nails and is usually used on hard, tough nails (like toenails) or if your nails are really long and you need to shorten them a lot.
240 to 320 grit are fine grits that makes them perfect file for filing and shaping natural nails. 320 grit files are available from the online store.
280 grit is a little too fine for filing but can be used to remove any leftover snags – mostly used as a buffer to smooth the surface of the nail.
400 grit is very soft and would be used to polish the natural nail before buffing.
4000 grit is usually sold as a (smooth) white nail buffer and is used to ‘shine’ the nails.

Before you start filing your nails, you need to decide on the nail shape that you want. There are lots of nail shapes to choose from, but here are 5 of the basics: Oval, Square, Squoval, Round and Almond. (See Nail Shapes article for a full list of different nail shapes with descriptions).

Before you file your nails, briefly wash your hands with soap and water to remove any hand cream and natural oils. Dry your hands and nails thoroughly. Avoid soaking your nails, as this will cause them to absorb water, making them soft, flexible and prone to tearing. If you are wearing nail polish and need to change it, remove the lacquer with nail polish remover after you’ve washed your hands. This will prevent your file from clogging up and will make the file last longer.

You’ve probably heard that you should always file your nails in one direction only or from the side to the tip of each nail. This may be true if you’re using a rough emery board, as these can rip and tear your nails and filing in one direction may reduce some of the tearing. If you’re using the correct tool (a 240 to 320 grit file or a glass file), the file will be soft and fine enough for you to use safely in a side-to-side motion, without doing any damage to your natural nails. Filing your nails this way will also be a lot quicker than filing in one direction only or filing each nail from side to middle on either side of the nail.

Don’t forget to file the sides of each nail in a straight, sweeping motion, to prevent them from splitting and snagging. Once you’re done, run your nails lightly along a piece of fabric (your shirt or trousers will do). If there are any snags left, they will catch slightly and you’ll be able to feel them. Simply file the snag down and your nails should be perfectly shaped.


Share this:

  • Share on Facebook (Opens in new window) Facebook
  • Share on X (Opens in new window) X
  • Share on Pinterest (Opens in new window) Pinterest
  • Print (Opens in new window) Print

Reader Interactions

Leave a Reply Cancel reply

You must be logged in to post a comment.

ramblingrosenails

💅 By appointment only.
🚫 No under 16s.
Closed on Wednesday & Sunday.
Book online:

Are your toes ready for the warmer weather? - Pl Are your toes ready for the warmer weather? 

- Plain colour gel polish pedicure = $71
- Plain colour traditional polish pedicure = $57

👩‍💻 Book online.
📖  By appointment only
📍  Mangawhai Heads
🚸  No children under 16 allowed in the salon.
🎁 Gift vouchers available online.
🧴  Strict hygiene routine
🎓  Fully qualified nail tech with 10+ years experience 
🌹  Tranquil location 

 #manicuresandpedicures #mangawhainailtech #clientreview
Yes, you can have nail art over clear gel polish. Yes, you can have nail art over clear gel polish.

Clear gel manicure = $55
Nail art = $2 per nail

👩‍💻 Book online.
🎁 Gift vouchers available online.
📍  Mangawhai Heads
📖  By appointment only
🚸  No children under 16 allowed in the salon.
🧴  Strict hygiene routine
🎓  Fully qualified nail tech with 10+ years experience 
🌹  Tranquil location 

 #hydrangeaflowers #hydrangeaflowernailart #nailart
Get your skin ready for summer with 25% off all Re Get your skin ready for summer with 25% off all Reniu products by Pure Fiji (including gift boxes and gift baskets).

25% off everything else storewide: 
- all skincare and nail products 
- Jewellery
- Home Decor
- Hair and Bridal accessories

Halloween weekend only (30 & 31 October 2026).

 #savethedate #25offsale #halloweensale
Get your pre-Halloween appointments booked in now! Get your pre-Halloween appointments booked in now! ... And while you're at it, book your pre-Christmas appointments, too.  Spots are filling up fast.

Gel polish manicure with one feature nail per hand = $74

👩‍💻 Book online.
🎁 Gift vouchers available online - use above link.
📍  Mangawhai Heads
📖  By appointment only
🚸  No children under 16 allowed in the salon.
🧴  Strict hygiene routine
🎓  Fully qualified nail tech with 10+ years experience 
🌹  Tranquil location 

 #pumpkinnails #halloweennails #Halloween2026 #halloween2026
Great quality, soft eyeliner and lip liner pencils Great quality, soft eyeliner and lip liner pencils available while stocks last.

Eyeliners $6.95
Lip Liners $7.99

 #eyelinerpencils #liplinerpencils #makeupforsale
Will you be decorating your nails for Halloween? Will you be decorating your nails for Halloween?

Gel polish mani with nail art = $90

👩‍💻 Book online.
🎁 Gift vouchers available online.
📍  Mangawhai Heads
📖  By appointment only
🚸  No children under 16 allowed in the salon.
🧴  Strict hygiene routine
🎓  Fully qualified nail tech with 10+ years experience 
🌹  Tranquil location 

 #HauntedHouseNails #hauntedhousenails #halloweennails #halloweennailart #Halloween2026 #halloween2026
Got thin or uneven lips? Make them look bigger b Got thin or uneven lips? 

Make them look bigger by taking a pencil lip liner in a shade the same colour as the lipstick you intend on wearing (or use a nude shade) and using light, feathery strokes or very tiny circular motions, almost buff the lip liner onto the edge of your thin or uneven lip, right where the natural lip colour and skin colour meet. Ideally, you want to extend the natural lip line colour by about millimetre or two (the width of a sharp lip liner pencil). Keep adding more width until the lip looks fuller but still natural. Rather start small and build the line up slowly instead of having to wipe the liner off and start again each time.

Once you’ve lined both lips, fill them in with the lip liner to create a base for your lipstick. Take a clean, dry lip brush or a cotton bud and soften and blend the lip liner onto your lips so that there are no harsh lines but rather a smooth application of colour.

Apply your lipstick to both lips, preferably with a lipstick brush and blot with a tissue. Apply a second coat of lipstick. 

 #thinlips #unevenlips #lipsticktips
Halloween nails don't have to be witches, cobwebs Halloween nails don't have to be witches, cobwebs or ghosts ... They can be simple polka dots.

Gel polish mani with two feature nails per hand = $78

By appointment only. Book online.

 #halloweennails #polkadots #polkadotnails
Need some 'me time'? Book an appointment online. Need some 'me time'? 

Book an appointment online.

 #nailsbyappointment #mangawhainailtech #mangawhainailsalon #ramblingrosenails
'Howl, Baby, Howl' is a beautiful cinnamon colour 'Howl, Baby, Howl' is a beautiful cinnamon colour brown - perfect if you're wanting a change from nude.

 #cinnamonnails #brownnails #howlbabyhowl
Follow on Instagram

Copyright © 2026 · Rambling Rose