• Skip to primary navigation
  • Skip to main content
  • PRICE LISTS
    • PRICE LIST: NAILS
    • PRICE LIST: MAKE-UP
  • CONTACT
  • SHOP
  • TESTIMONIALS
  • FAQ
    • Nails FAQ
    • Make-up FAQ
  • T&Cs
    • Refund and Returns Policy
    • Terms & Conditions
  • Nav Social Menu

    • Facebook
    • Instagram
    • Pinterest
  •  

Rambling Rose

  • Price Lists
    • Nails
    • Make-up
  • Shop
  • Blog
    • Articles
    • How to … & Tutorials
    • Make-up brushes & tools
    • Nails
    • Product Reviews
  • Contact
  • T&Cs
    • Refund and Returns Policy
    • Terms & Conditions
  • Press

How to apply false eyelashes

December 12, 2013 | Articles, How to ... & Tutorials | Leave a Comment

false lashesThe Festive Season is here, so glam up your look with some false lashes!

False eyelashes add length and volume to natural eyelashes and come in two types, being temporary or semi-permanent.

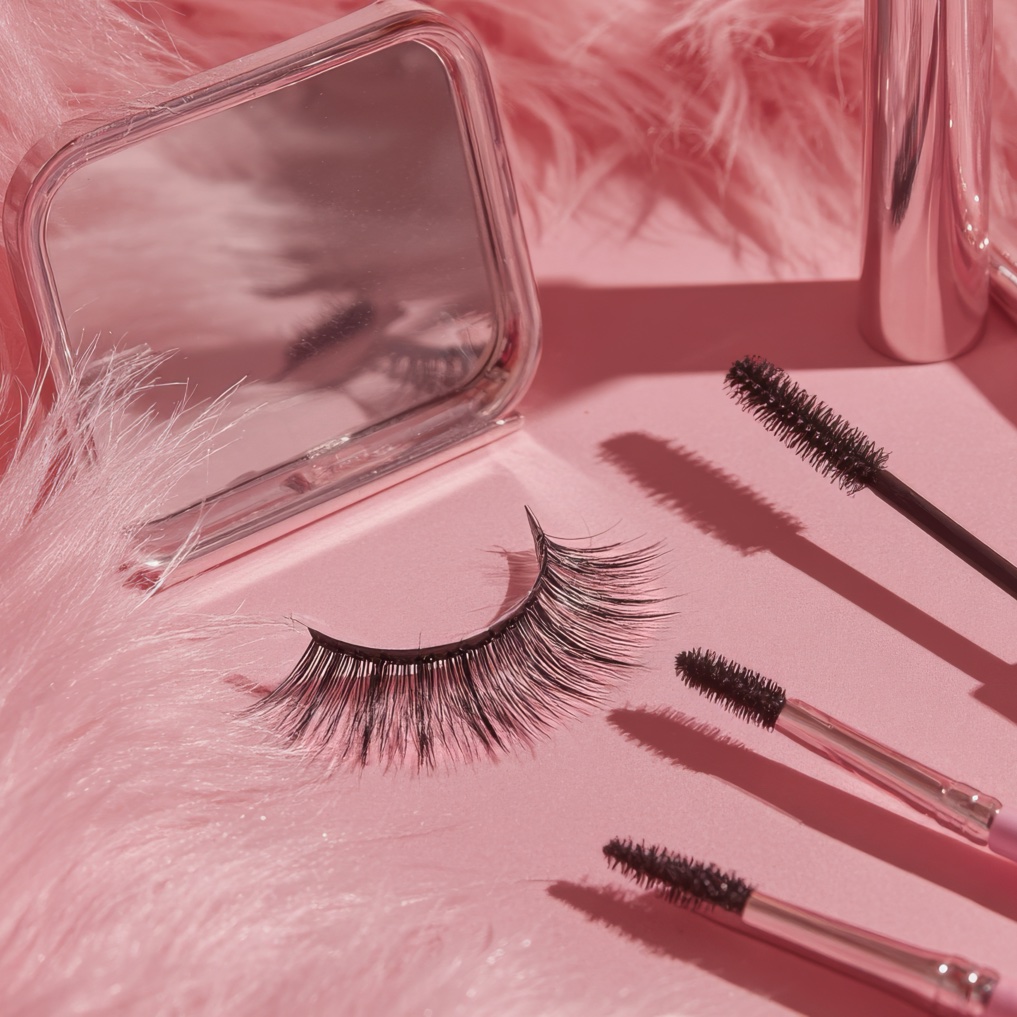
Temporary eyelashes are the ones you can buy in stores and are fixed onto your eyelid, at the base of your eyelashes, with adhesive.  They are designed to be worn for a short period of time (a day or less) and should not be worn when showering, swimming or sleeping.  They come in either a full strip of lashes that covers your whole lid or in cluster lashes (usually a small cluster of three eyelashes) that can be applied to the outer corner or outer half of your eye, as you desire.

Semi-permanent eyelashes (also known as eyelash extensions) are individual lashes that are applied one hair at a time to your natural eyelashes, with a much stronger adhesive.  These generally last until the natural eyelash falls out, although they may fall out quicker if oil-based products are used (like certain eye make-up removers and eyeliners, etc) or if the eyes are rubbed often.

If you’re looking for some temporary, natural-looking, lightweight, false eyelashes to give you a little more volume and length for daytime use, try Eylure Naturalites #020.  They come with a small tube of adhesive inside the box and if you treat them right, you can reuse them a number of times before they need to be replaced.  If you prefer to use a proper eyelash adhesive and not the one supplied in the box, head over to your nearest MAC store and get a tube of Duo Adhesive.

After carefully removing the false lashes from the container, hold the lash up to your eye and measure the fit. Trim any excess from the outer corner, if necessary. Then apply adhesive to the flat part of lash band and let the glue dry for 30 seconds. This allows the glue to become tacky and it will stick better. Apply the false lashes to the skin directly above your lash line, getting it as close to your lashes as possible without sticking them onto your lashes.

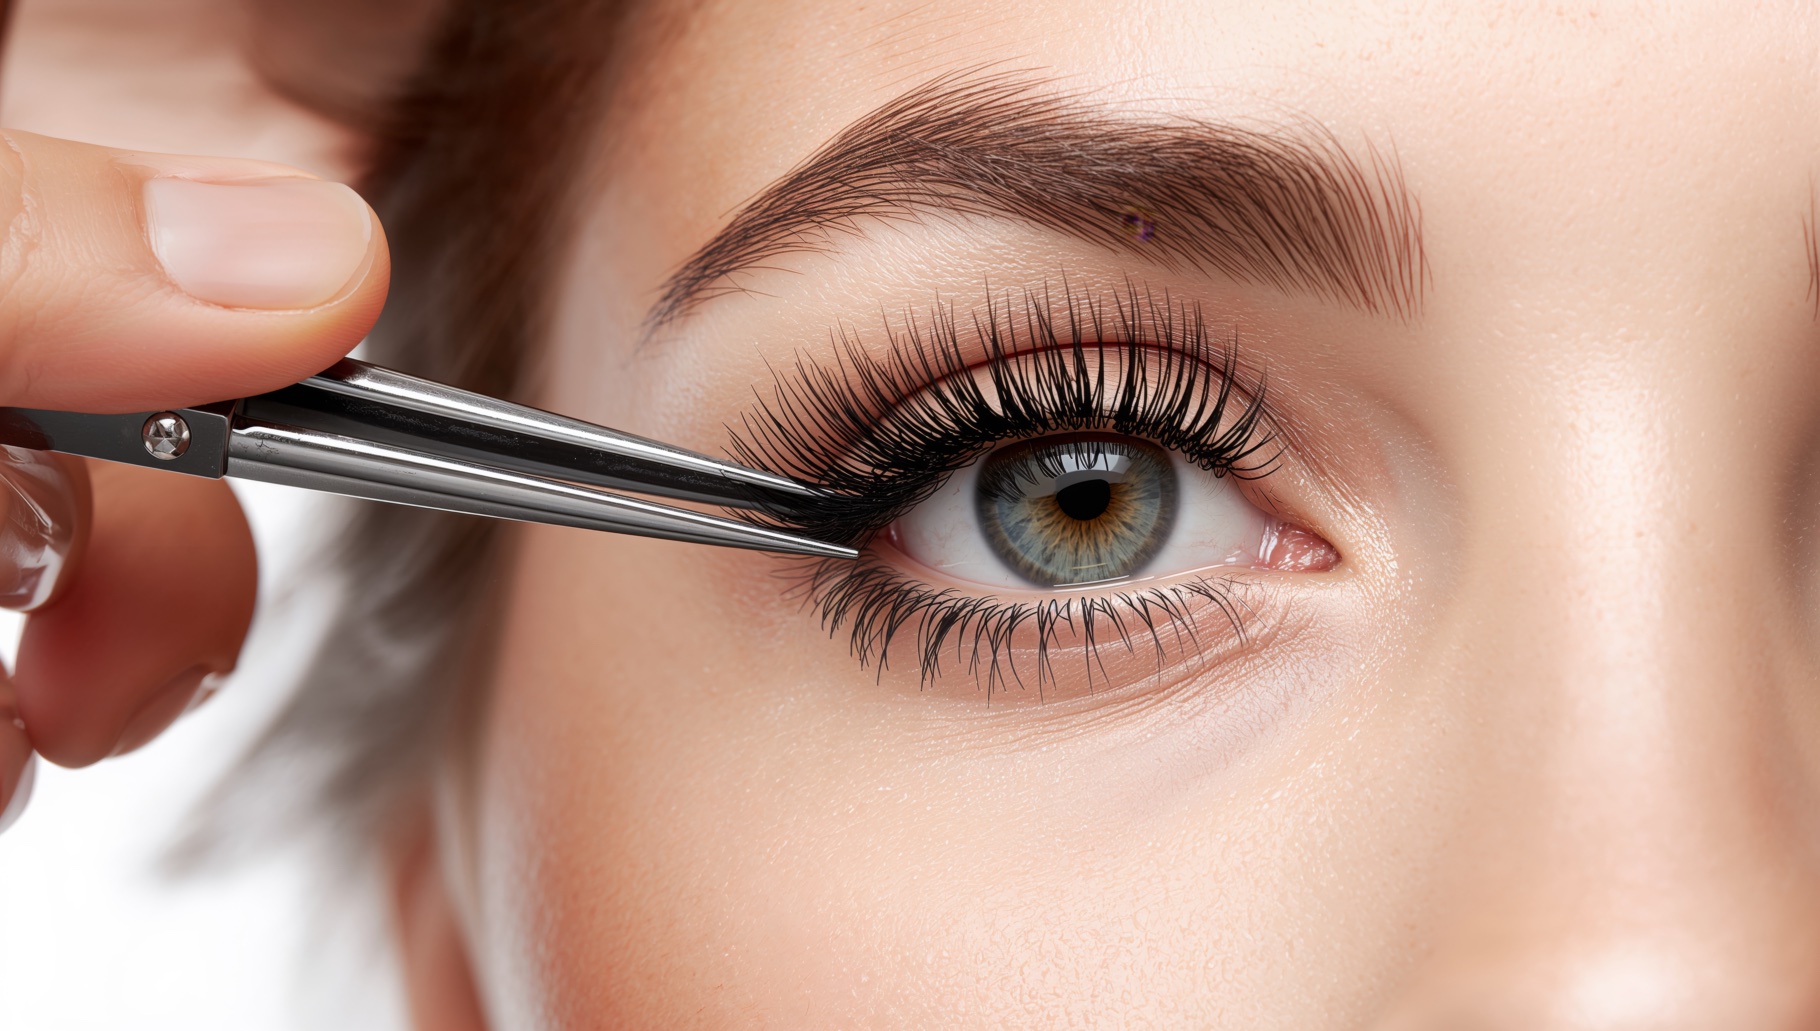
I prefer to hold my false lashes with my fingers, but tweezers also work (just be careful not to squeeze the tweezers too hard, you may kink the lashes).  I like to start at the outer corner and work towards the inner corner, but this is just personal preference. Some people prefer to start in the middle and work out towards either side. Experiment with whatever works best for you.

To make your false lashes last longer, carefully peel them off at the end of the day or evening out (start at the outer corner and peel inwards) and then gently pull off any glue that may still be stuck on the edge of the lashes before washing them lightly in warm, soapy water.  Leave them to air dry, before storing them on the plastic tray in the box that they came in to retain their shape.

Update:  Since writing this blog post years ago, there are ‘new’ products on the market; magnetizing lashes which come with a magnetizing liquid eyeliner and magnets on the lash strip, and the other product is an eyelash adhesive eyeliner, which makes application really easy.  Read more about the magnetizing lashes in this product review.

Share this:

  • Click to share on Facebook (Opens in new window) Facebook
  • Click to share on X (Opens in new window) X
  • Click to share on Pinterest (Opens in new window) Pinterest
  • Click to print (Opens in new window) Print

Reader Interactions

Leave a Reply Cancel reply

You must be logged in to post a comment.

ramblingrosenails

πŸ’… By appointment only.
🚫 No under 16s.
Closed on Wednesday & Sunday.
Book online:

To all the volunteers in Mangawhai, thank you for To all the volunteers in Mangawhai, thank you for all that you do.

- Mangawhai Volunteer Fire Brigade (@mangawhaifirebrigade)
- St John's Ambulance (@stjohnnz)
- those who volunteer at Te Whai or the Museum (@tewhaicommunitytrustmangawhai and @mangawhaimuseum )
- and everyone else who gives freely of their time to help those in need

 #InternationalVolunteerDay #internationalvolunteerday #internationalvolunteerday2025
Photos don't do this room justice. All the retai Photos don't do this room justice. 

All the retail items that are available in salon are also all available online through our website:  www.ramblingrose.co.nz/shop

If you're stuck for gift ideas for Christmas, have a browse through the Reniu by Pure Fiji products, or find an item of jewellery, and have it delivered to you or sent directly to the recipient via courier. 

 #shoponline #purefijinz #purefijiproducts #reniu #reniubypurefiji #nailsbyappointment #mangawhainailtech #ramblingrosenails
'Hotness,' a glittery red that reminds me of Dorot 'Hotness,' a glittery red that reminds me of Dorothy's shoes in the Wizard of Oz, with stars, baubles and a Christmas tree. 

This set can be done in any combination of colours. 

Gel polish mani + nail art = $85

πŸ‘©β€πŸ’» Book online: https://www.fresha.com/a/rambling-rose-nails-and-make-up-mangawhai-thelma-road-north-i1d1r1d4/booking?menu=true&dppub=true&employeeId=450913&pId=142955
πŸ“  Mangawhai Heads
πŸ“–  By appointment only
🚸  No children under 16 allowed in the salon.
🧴  Strict hygiene routine
πŸŽ“  Fully qualified nail tech with over 10 years experience 
🌹  Tranquil location 

 #christmasnails #christmasmani #christmasnailart #glitteryrednails
The salon will be closed from 23 December 2025 and The salon will be closed from 23 December 2025 and will reopen on 8 January 2026.

I'm already fully booked from 13 December onwards, and the first week in January is filling up fast. If you haven't already booked your December and January appointments, do it soon otherwise you may miss out.

 #closingforchristmas #endofyearshutdown #endofyear #takingabreak
Often, I don't get to see the final effect with th Often, I don't get to see the final effect with the outfit (weddings or school balls), and I love it when I'm sent a photo. 
Thank you. 

 #schoolballmakeup #makeupartist #makeupartistmangawhai
How is it December? Where did the year go? #dec How is it December?  Where did the year go?

 #december #wheredidtheyeargo #christmasisaroundthecorner
In the same way as certain lipsticks, eyeshadows a In the same way as certain lipsticks, eyeshadows and other make-up colours suit certain skin tones, the same applies to nail polish shades.

Not sure what colour to get? Not to worry, I'm happy to help you choose once your nail prep has been done. My colour swatches are used to try the colour on before your nails are painted. 

 #nailpolishcolours #colourswatches #skintone
Snowflakes on your nails in December? Yes or no. Snowflakes on your nails in December? Yes or no. 

 #snowflakenailart #christmasnails #redgoldwhitenails #christmasnailart #sparklynails
Pushing back your cuticles are part of the prep be Pushing back your cuticles are part of the prep before painting during a manicure. This process removes any dead skin cells stuck to the nail plate before polish is applied. Doing this improves the longevity of your manicure. 

 #Cuticles #cuticles #NailPrep #nailprep #nailpreparation #cuticlework
It's that time of year βœ¨β›„β„οΈπŸŽπŸŽ… #christmasnails #c It's that time of year βœ¨β›„β„οΈπŸŽπŸŽ…

 #christmasnails #christmasnailart #redgoldwhitenails #sparklynails
Follow on Instagram

Copyright © 2025 Β· Rambling Rose